
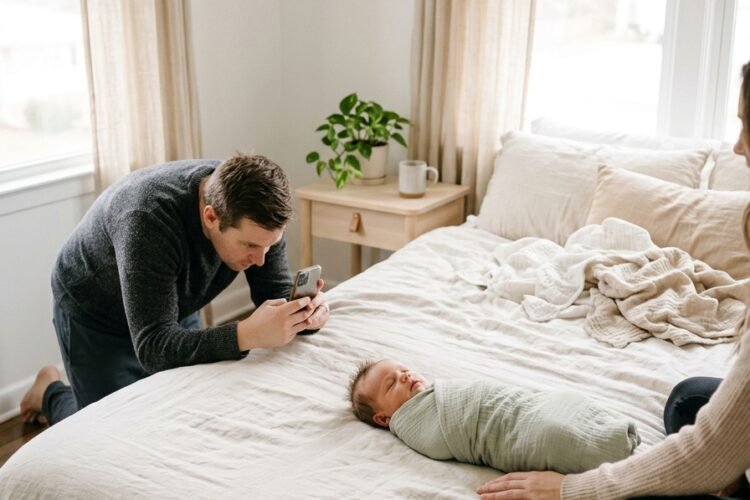
First weeks with a newborn pass quickly. Many parents want photos but feel unsure about taking them alone. Posed shots on social media look easy. Some of them are not safe to copy. This guide covers safe newborn photography at home. You will find nine simple ideas, poses to skip and mistakes to avoid. Every idea keeps your baby supported, warm and supervised.
Quick answer: The safest way to photograph a newborn at home is to keep the setup simple. Use a firm, flat surface close to the floor, keep a second adult within arm’s reach and choose natural window light. Skip balanced or suspended poses. Stop when the baby fusses, and feed or comfort first.
What Makes Newborn Photography at Home Safe?
Safe newborn photography keeps the baby supported, comfortable and supervised at all times. No photo is worth risking your baby’s breathing, temperature or comfort. These six rules apply to every idea in this guide.
- Keep a second adult nearby. One person takes the photos. The other keeps a hand within reach of the baby.
- Stay close to the ground. Use a bed, a floor mat or a parent’s lap. Avoid tables, counters and tall stands.
- Place the baby on their back. Do this for any pose where the baby might doze off.
- Keep faces clear. Nothing should cover the nose or mouth. That includes blankets, hats, wraps and props.
- Check the temperature. Keep the room comfortable. Make sure your baby is not too warm.
- Stop early. Stop when your baby fusses, spits up or seems hungry. Call your pediatrician if you worry about how your baby looks or breathes.
A photo spot is not a sleep spot. A cozy setup can still be unsafe for sleep. The American Academy of Pediatrics (AAP) advises that <a href=”https://www.healthychildren.org/English/news/Pages/safe-sleep-back-is-best-avoid-soft-bedding-inclined-surfaces-and-bedsharing.aspx”>babies sleep on their backs on a firm, flat, noninclined surface without soft bedding</a>. The AAP also says sitting devices such as car seats, swings and slings are not recommended for routine sleep. This matters most for infants younger than 4 months. If your baby falls asleep during the session, move them to a crib or bassinet.
This guide gives general information only. It is not medical advice. Ask your pediatrician about any question on your baby’s health, sleep or comfort.
When Is the Best Time for Newborn Photos at Home?
Many newborn photographers suggest the first two weeks for sleepy, curled-up photos. Babies tend to sleep more deeply at that age. Lifestyle photos show real moments, such as cuddles and quiet looks. Those can work for longer, often up to about eight weeks. These ranges come from photographers. They are not medical guidelines.
Your baby and your recovery come first. Pick a day when you feel rested enough. Choose a calm window after a feed. Mornings with soft light often work well. If your baby was born early, many photographers count from the due date instead of the birth date.
Not sure what the first days look like? Our newborn care checklist for the first week at home shows how feeds, naps and diaper changes fill the day. It helps you find a quiet gap for photos.
What Do You Need for a Home Newborn Photoshoot?
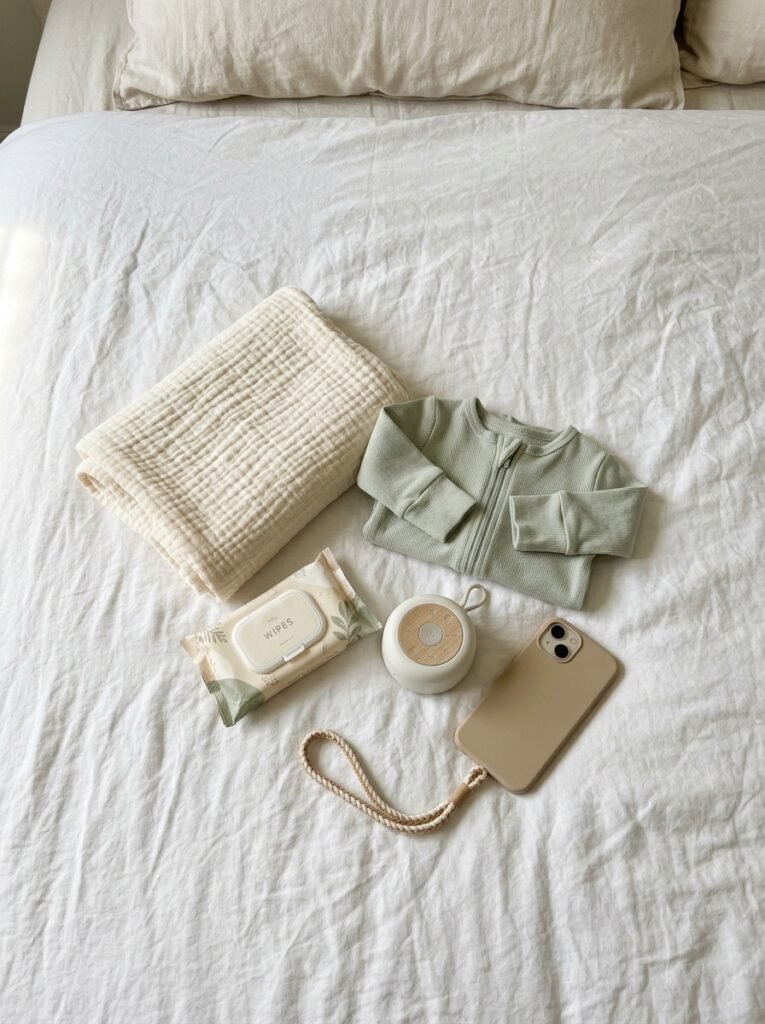
You do not need special gear. A simple kit is enough.
- A second adult. This is the most important item. Photos come second to a spotter.
- Window light. Choose a window with soft, indirect light. Avoid direct midday sun on your baby.
- A plain blanket. Choose a soft, neutral muslin or cotton blanket without fringe or loose threads.
- A phone or camera. A phone is fine. Wear a wrist strap so it cannot slip onto the baby.
- White noise. A soft background hum can help a baby stay settled.
- Wipes and a spare outfit. Messes happen. Keep both within reach.
9 Safe Newborn Photography Ideas to Try at Home
Each idea below keeps your baby close to the ground and in a calm position. Try two or three per session. You do not need all nine.
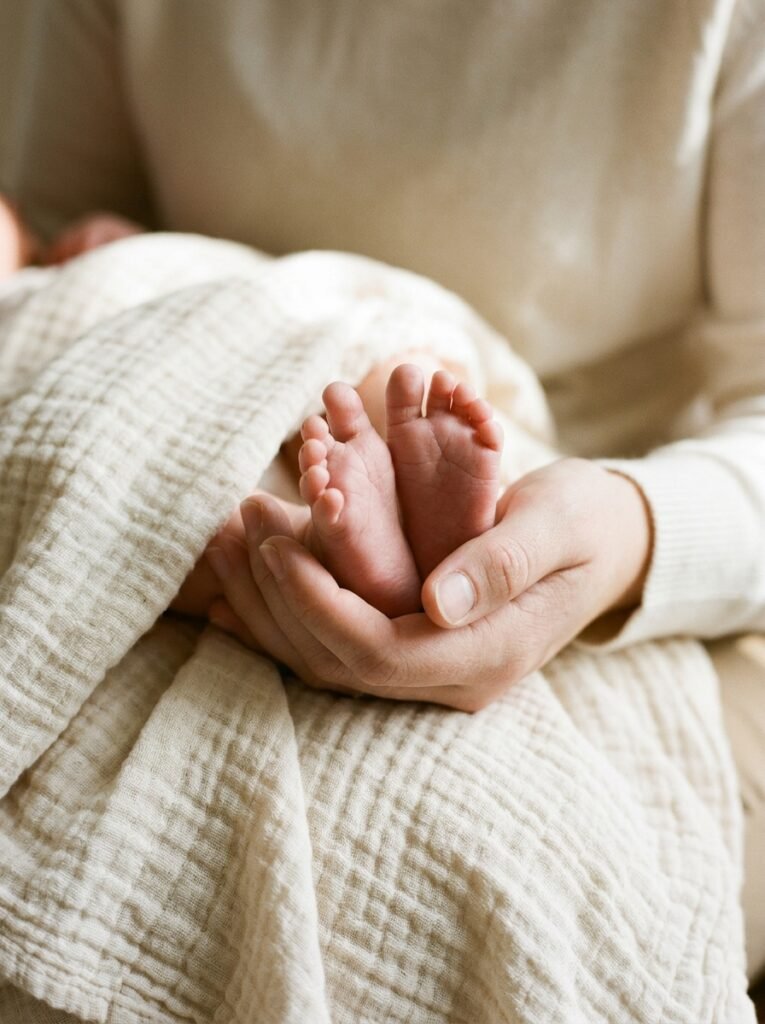
1. Parent hands holding baby’s feet
Sit on a bed or sofa with your baby cradled on your lap. Use one hand to hold both tiny feet. Photograph from above or from the side. This idea shows scale without any posing. Safety note: Keep your other arm under your baby.
2. Swaddled baby on a bed near the window
Lay a plain blanket on a firm bed. Place your baby on their back in a snug swaddle. Photograph from the foot of the bed in side light. Keep one hand near the baby between shots. Safety note: The AAP says to place swaddled babies on their back. Weighted swaddles are not safe. Swaddling is no longer appropriate when a baby shows signs of trying to roll. If your baby falls asleep, move them to a crib or bassinet.
3. Baby on a parent’s chest
Recline against pillows with your baby resting on your chest. Keep your face clear and your baby’s face visible. A second adult takes the photo from the side. Safety note: Stay awake and keep this brief. Do not let anyone doze with the baby on the chest. Move your baby to a crib or bassinet when sleep starts.
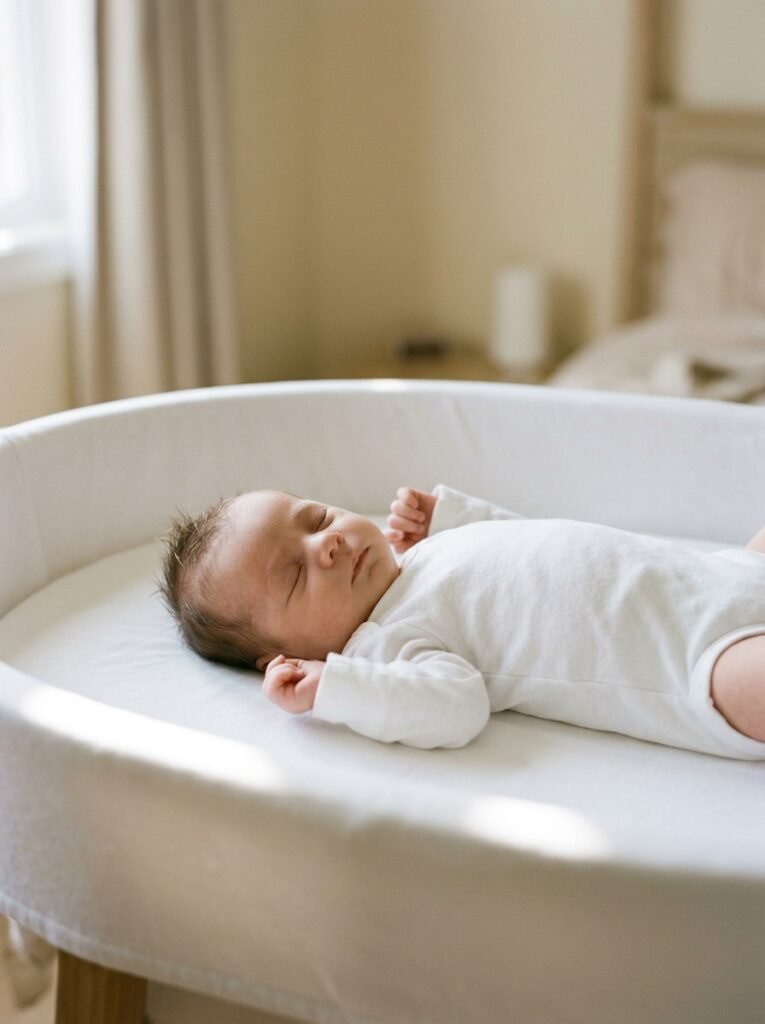
4. Side-lit bassinet portrait
Place the bassinet near a window. Stand beside it and photograph from the side. Use a low angle to show the baby’s profile. Safety note: Add nothing to the bassinet for the photo. No pillows, blankets or soft toys belong in a baby’s sleep space. If you want texture in the shot, photograph the baby awake on a bed instead.
5. Tiny details close-ups
Photograph fingers, toes, eyelashes, ears and hair. Fill the frame and keep the background plain. Close-ups tell the story of this stage well. Safety note: Hold the phone steady and keep it clear of the baby’s face.
6. Over-the-shoulder cuddle
Hold your baby upright against your shoulder with firm support under the bottom and behind the head. A second adult photographs from behind or the side. The result shows both the baby’s face and your gentle hold. Safety note: Keep your hand on the baby’s head and neck throughout.
7. Sibling hand touch
Seat an older child on the sofa with a pillow under their arm. An adult holds the baby while the child touches a tiny hand. Take photos from the front. For more sibling ideas, see our guide to newborn and sibling posing. Safety note: An adult always holds the baby.
8. Face to face with a parent
Sit comfortably and cradle your baby in your arms. Look down at them while your partner photographs from the side. This frames a quiet moment between you. Safety note: Keep your arms supported against the chair or a pillow.
9. Overhead blanket portrait
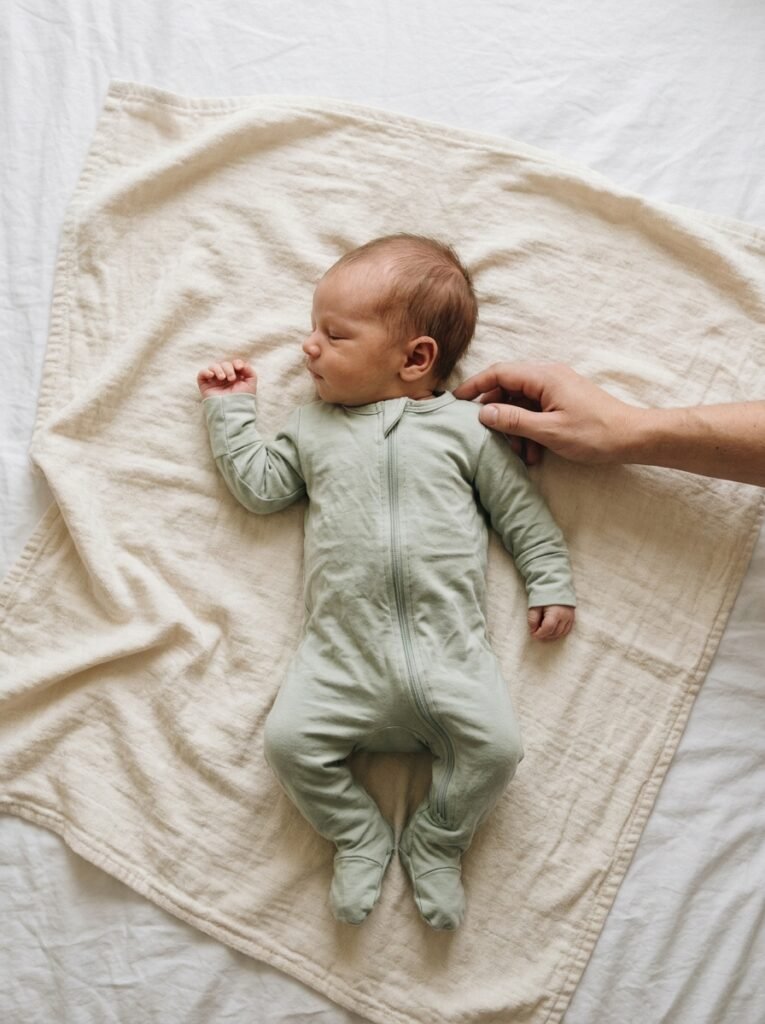
Lay a plain blanket on a firm bed or a floor mat. Place your baby on their back, awake or briefly settled. A helper stays beside them. Photograph from above, with the phone strap around your wrist. Safety note: Never hold a phone over your baby’s face without a strap. Try this for only a few minutes at a time.
Which Newborn Poses Should You Skip at Home?
Skip any pose that depends on balance, suspension or a hand holding the head. Some striking newborn photos online are composite images. A composite combines several photos into one. In many of these, a parent or assistant supports the baby in each shot. The final image hides the hands. Copying the result without that support can put a baby at risk.
| Skip | Why | Try instead |
|---|---|---|
| Head-in-hands or froggy pose | A newborn cannot support their own head. These shots are often composites. | A close-up of a parent’s hand cupping the baby’s head |
| Baby in a hammock or wrap hung up | Falls and tipping are real risks. | A snug swaddle lying on a firm bed |
| Baby in a bowl, bucket or basket on a raised surface | The container can tip. | Photograph the baby on a bed or floor mat |
| Face-down posing while asleep | Babies should sleep on their backs. | Short, awake, supervised tummy time on a mat |
| Props or fabric over the face | Anything over the nose or mouth is unsafe. | Keep the face fully clear |
| Baby propped on pillows | Pillows give no steady support. | Let a parent hold the baby |
The AAP recommends supervised, awake tummy time for short periods soon after hospital discharge. It suggests building to at least 15 to 30 minutes total daily by 7 weeks of age. Photograph it as a real moment, not a pose, and keep it brief.
Are Props and Outfits Safe for Newborn Photos?
Choose props that are soft, plain and larger than a baby’s fist. Skip anything with small parts, ribbons, cords or ties. Avoid tight headbands and hats that slip over the eyes or nose. If an item could cover your baby’s face, leave it out.
For clothing, a simple zip-up sleeper or onesie works well. Photographers often favor simple clothing because it is quick to change. Soft cotton is comfortable and easy to wash. If you want a second look, bring a clean muslin blanket and keep the rest bare.
Should You Use Flash for Newborn Photos?
Natural window light is the better first choice. It is soft and flattering. It also does not startle a sleeping baby the way a sudden flash can. Turn off your phone’s flash. Place your baby near a window with light coming from the side. Avoid strong direct sun on your baby’s skin. If you have a question about your baby’s eyes, ask your pediatrician.
How to Run a 30-Minute Home Newborn Photo Session
Plan for about 30 minutes, and stop sooner if your baby needs a break. This is a suggestion, not a rule.
- Choose the time. Pick a calm period after a feed.
- Prepare the room. Clear a bed or floor space. Set up the blanket and white noise.
- Feed and burp first. A settled baby is easier to photograph.
- Brief your helper. Agree on who watches the baby and who takes the photos.
- Shoot in short bursts. Take a few photos per setup, then pause.
- Take breaks. Hold, soothe or feed your baby whenever they need it.
- Review later. Sort the photos after your baby is settled.
A short shot list keeps the session easy. Try to capture five photos: a close-up of hands and feet, a swaddled portrait, a parent cuddle, a sibling touch and a quiet side profile.
Home Photos or a Professional Photographer?
Choose home photos when you want relaxed lifestyle moments, low cost and flexible timing. Choose a professional when you want posed sleeping portraits or a polished set of images. Each route can be safe when you follow the rules above.
| Factor | Home photos | Professional session |
|---|---|---|
| Timing | Any calm moment | Booked ahead |
| Style | Candid and natural | Posed or lifestyle |
| Safety control | You manage every step | Depends on the photographer |
| Stress level | Low if kept short | Higher for a long session |
If you hire a photographer, ask four questions. Are they trained in newborn safety? Do they use a spotter for every pose? Do they explain which images are composites? Do they pause for feeds and comfort?
Common Mistakes to Avoid
- Treating a photo setup as a sleep space. Move a sleeping baby to a crib or bassinet.
- Copying a viral pose. Many are composites or require professional handling.
- Working alone on a raised surface. Always keep the baby close to the ground.
- Letting the room get too warm. Check that your baby is comfortable.
- Pushing through crying. A fussy baby needs a break.
- Adding too many props. One or two items are plenty.
- Skipping your own rest. You do not need a perfect session. A few honest photos are enough.
FAQs
Is it safe to take newborn photos at home?
Yes, when the setup stays simple. Use a firm surface close to the ground, keep a second adult within reach and keep the baby’s face clear. Skip balanced or suspended poses. Stop at the first sign of fussing, and ask your pediatrician about any health or comfort concerns.
Can I lay my newborn on a bed for photos?
Yes, for short, awake and supervised photos. Place your baby on their back on a firm bed with a plain blanket and keep a helper beside them. A bed is not a sleep surface for babies. If your baby falls asleep, move them to a crib or bassinet.
How long should a home newborn photoshoot last?
About 30 minutes is a sensible target, with breaks for feeding and comfort. Shorter is fine. Many babies tolerate only a few minutes per setup. End the session whenever your baby is hungry, fussy or unsettled. You can always take more photos on another day.
What are composite newborn photos?
A composite newborn photo is a single image built from several shots. In many of these, a parent or assistant holds the baby’s head or body in each shot, and the hands are edited out. The final pose looks effortless but was never held without support. Do not copy such poses at home.
What should I do if my baby falls asleep during the session?
Move your baby to a crib or bassinet and place them on their back. The AAP recommends a firm, flat sleep surface without soft bedding. You can pause the session and continue later. If the nap stretches on, you can stop for the day.
Do I need a professional for a newborn photoshoot?
No. Many parents take lovely photos at home with a phone and window light. A professional can be useful if you want posed sleeping portraits. If you hire one, ask about safety training, spotters and how they handle composite images.
Capture the Moment Without Rushing It
The best newborn photos do not need complicated poses. They need light, patience and a calm helper. Keep each idea simple and stop whenever your baby needs you. For more ideas, see our DIY newborn baby photo ideas for hospital and home. Save this guide for your next photo day, and enjoy the small moments.