Let’s be real for a second. You just grew a human, birthed said human, and now you’re looking at your midsection wondering when it got the memo that the eviction notice was served. The “jelly belly” phase is a rite of passage, but I know it can feel frustrating when your favorite jeans laugh at your attempts to button them.
You might feel tempted to drop into a hundred crunches right now. Stop right there. Crunches are actually the enemy of a healing postpartum core. Trust me, I learned this the hard way after trying to “sit-up” my way back to a six-pack and only making my back hurt.
We need to rebuild your foundation first. We are going for gentle, effective movements that knit your muscles back together rather than ripping them apart. Ready to reclaim your core without losing your mind? Let’s get moving.
The Safety Briefing: Read This First
Before you even think about rolling out a yoga mat, you need the green light. Do not start this routine until your doctor or midwife clears you (usually at the 6-week check-up). If you had a C-section, you might need even more time.
Also, check yourself for Diastasis Recti. That’s the fancy term for abdominal separation. Lie on your back, lift your head slightly, and press your fingers into your belly button area. If you feel a gap wider than two fingers, skip the planks and seek a pelvic floor therapist. Serious advice here, folks.
Phase 1: The “I Can Do These in Bed” Starters
You’re exhausted. I get it. The idea of putting on gym clothes feels like a marathon. The good news? You can do this first batch while lying next to your sleeping baby.
1. Diaphragmatic Breathing

It sounds too simple to work, but deep belly breathing is the foundation of everything. Most of us breathe shallowly into our chests. We need to wake up the deep transverse abdominals (your body’s natural corset).
- Lie on your back with one hand on your belly and one on your chest.
- Inhale deeply through your nose, expanding your belly like a balloon. Your chest should stay still.
- Exhale slowly through your mouth, pulling your belly button toward your spine.
- Repeat this 10 times. IMO, this is also great for stress relief when the baby won’t stop crying.
2. Pelvic Tilts
Think of this as a massage for your lower back that accidentally tones your abs. It’s subtle, small, and incredibly effective for waking up the lower core.
- Lie on your back, knees bent, feet flat on the floor.
- Exhale and gently tilt your pelvis so your lower back presses flat against the mattress or floor.
- Squeeze your abs tight at the bottom of the movement.
- Inhale and return to a neutral spine.
- Do 15 reps. You should feel a deep tightening low in your stomach.
3. Heel Slides

This exercise tests your ability to keep your core stable while your limbs move. It looks easy, but if you do it right, your abs will shake.
- Start in the same position as the pelvic tilt.
- Engage your core (pull that belly button down!).
- Slowly slide one heel out until your leg is straight, keeping your back glued to the floor.
- Slide it back in using your abdominal muscles to drag the leg.
- Alternate legs for 20 reps total.
4. The Kegel (Yes, It Counts)

You knew this was coming. Your pelvic floor acts as the bottom of your core cylinder. If the bottom is weak, the walls (your abs) can’t stabilize properly.
- Squeeze the muscles you use to stop the flow of urine.
- Hold for 5 seconds, then release fully.
- Do not hold your breath. Breathe through the hold.
- Aim for 3 sets of 10 throughout the day. You can literally do these while waiting in line for coffee.
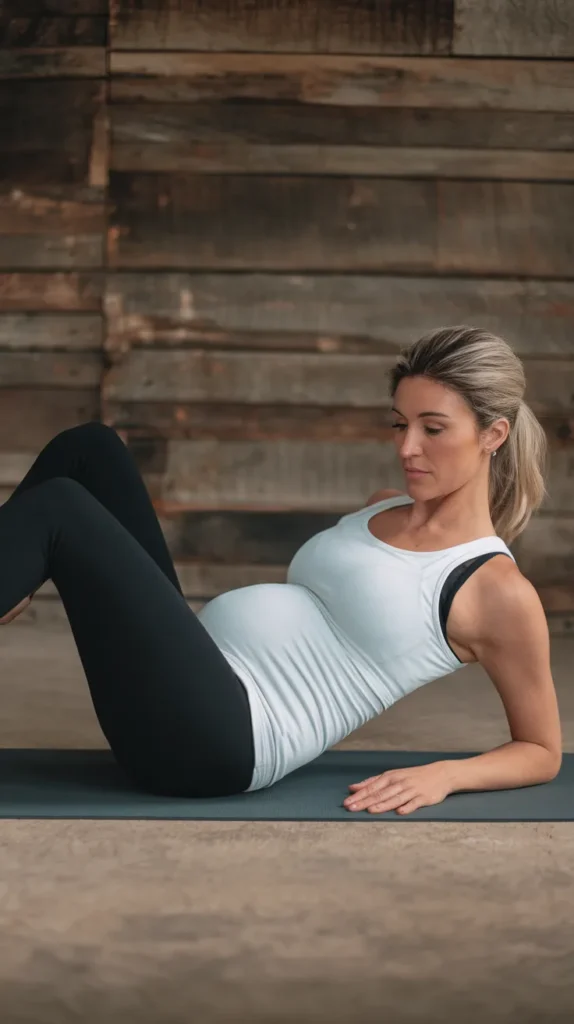
5. Supine Toe Taps
Now we ramp up the intensity just a tiny bit. This moves the load to your lower abs, which is usually the dreaded “pooch” zone.
- Lie on your back and lift your legs into a tabletop position (knees bent at 90 degrees).
- Keep your lower back pressed firmly into the floor. This is non-negotiable.
- Slowly lower one toe to tap the floor, maintaining that 90-degree bend in the knee.
- Bring it back up and switch sides.
- Perform 10 taps per side. If your back arches, don’t lower your leg as far.
Phase 2: Getting on All Fours
Once you master the floor breathing, flip over. Gravity adds a little resistance here, making your deep core work harder to hold your organs in place.
6. The Bird Dog
I love this move because it forces your brain to balance while working your core, back, and glutes. It makes you feel athletic again without high impact.
- Start on your hands and knees. Keep your wrists under your shoulders and knees under hips.
- Keep your spine flat like a table. Imagine balancing a cup of hot tea on your lower back.
- Extend your right arm forward and your left leg back simultaneously.
- Hold for a breath, focusing on length, not height.
- Return to center and switch sides. Do 10 per side.
7. Cat-Cow Stretch

This feels amazing on a nursing back, but we add a core twist. It isn’t just a stretch; it’s an active contraction.
- Start on all fours.
- Inhale and drop your belly, looking up (Cow).
- Exhale powerfully, rounding your spine (Cat), and pull your belly button fiercely toward your spine.
- Hold that “Cat” squeeze for 2-3 seconds to maximize the ab work.
- Repeat 10 times.
8. The “Bear Hover”
Ever wonder why babies crawl? It requires serious core strength. We are going to mimic that stability.
- Start on all fours with your toes tucked under.
- Engage your core and maintain a flat back.
- Lift your knees just one inch off the floor.
- Hold this hover for 5–10 seconds. You will feel your entire midsection fire up.
- Release and repeat 5 times. It’s harder than it looks, FYI.
Phase 3: Side-Lying for Waist Definition
We can’t ignore the obliques. These muscles wrap around your sides and help cinch everything back together. Plus, you get to lie down again. Win-win.
9. Clamshells
While technically a glute exercise, Clamshells require core stability to prevent your hips from rocking. A strong butt supports a strong core.
- Lie on your side with legs stacked and knees bent at a 45-degree angle.
- Keep your feet touching and open your top knee like a clam.
- Keep your hips stacked vertically. Do not roll backward!
- Close the knee. Do 15 reps per side.
10. Side Lying Leg Lifts
This targets the outer hip and oblique. It helps stabilize your pelvis, which probably feels a bit wobbly these days.
- Lie on your side with the bottom leg bent for stability and the top leg straight.
- Lift the top leg toward the ceiling.
- Squeeze your side waist as you lift.
- Lower slowly. Perform 15 reps per side.
11. Modified Side Plank
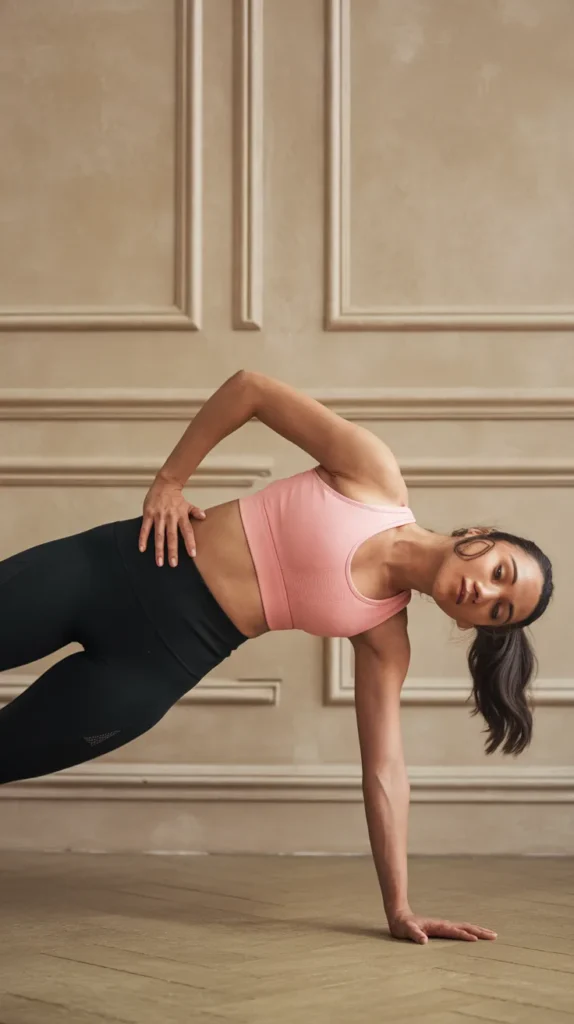
Full planks are often too much pressure for a postpartum belly initially. The modified side plank builds shoulder and oblique strength safely.
- Lie on your side, propped up on your forearm.
- Bend your knees so your feet are behind you.
- Lift your hips off the floor, creating a straight line from shoulder to knee.
- Brace your core tight.
- Hold for 20–30 seconds. Switch sides.
Phase 4: Upright and Functional
You spend most of your day carrying a baby, a diaper bag, and an oversized water cup. You need strength that works while you stand up.
12. Wall Sits

These burn the quads, but if you focus on your posture, they serve as an excellent core stabilizer.
- Lean your back flat against a wall and slide down until your knees are bent.
- Press your entire spine against the wall.
- Hold your baby (or a weight) close to your chest for added resistance if you feel steady.
- Hold for 30–45 seconds. Breathe!
13. Standing Knee Raises

This mimics the motion of walking up stairs or stepping over baby gates. It requires balance and deep core activation.
- Stand tall with feet hip-width apart.
- Exhale and lift one knee toward your chest.
- Focus on using your lower abs to lift the leg, not just your hip flexor.
- Keep your torso tall—don’t lean back!
- Alternate legs for 20 reps.
14. The Stroller Walk (With Purpose)
Walking is the MVP of postpartum fitness. But are you walking correctly? Slumping over the handle does nothing for your tummy.
- Stand tall behind the stroller. Shoulders back.
- Tuck your pelvis slightly to neutral.
- Engage your core slightly as you push.
- Walk at a brisk pace. Use the resistance of the stroller to activate your abs on uphill sections.
15. The Standing “Vacuum”

This is an advanced version of the breathing we did in bed. You can do this while washing bottles or brushing your teeth.
- Stand tall and exhale all the air out of your lungs.
- Without inhaling, pull your stomach in and up under your ribs.
- Hold for 5–10 seconds.
- Inhale and release.
- Repeat 5 times. It feels weird, but it shrinks the waistline effectively.
The “Hard No” List: What to Avoid
I see moms doing crazy workouts 4 weeks postpartum and I cringe. Just because you can doesn’t mean you should.
- Avoid Crunches and Sit-ups: These push the belly out (doming) and worsen separation.
- Skip Full Planks (at first): The intra-abdominal pressure is often too high. Stick to knees or incline planks until you can hold without your belly sagging.
- No Heavy Lifting: And by heavy, I mean anything significantly heavier than your car seat. Protect your pelvic floor 🙂
Consistency Over Intensity
Here is the secret sauce: You don’t need an hour. You need 10 minutes, consistently. Your body spent 9 months stretching out; give it grace as it comes back together.
Pick 3 or 4 of these exercises and do them during nap time. Mix and match them to keep things fresh. Listen to your body—if something hurts (in a bad way), stop immediately.
You’ve got this, mama. Be kind to yourself, drink your water, and remember that a strong core is about function, not just fitting into those pre-baby jeans (though that’s a nice bonus). Now, go take a nap if you can—that’s the best recovery tool of all!